|
Mapping a Network Drive For Windows 10 Users follow the instructions below. Once you have your network drive mapped then check Job Timer and see if you can access the mapped drive. (The pictures below were taken from Windows XP and won't be the same for Windows 10 but you get the idea on what needs to happen here)
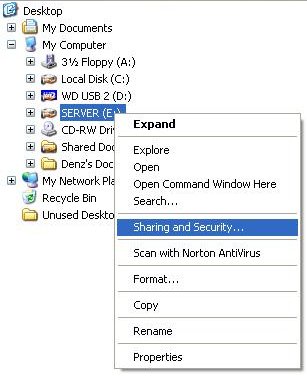
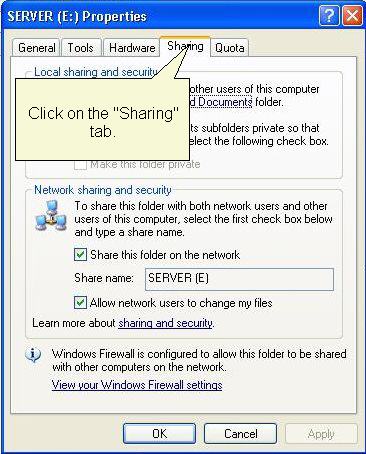
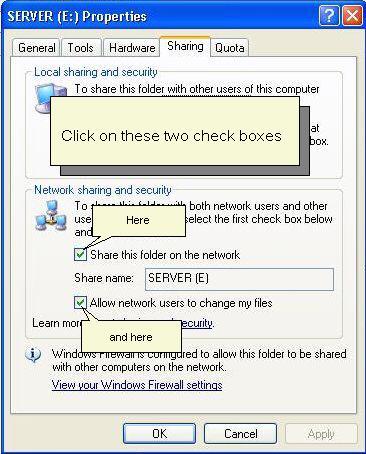
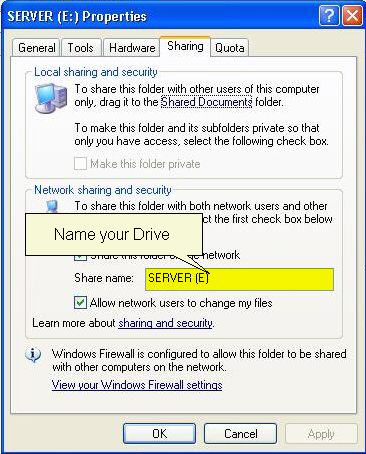
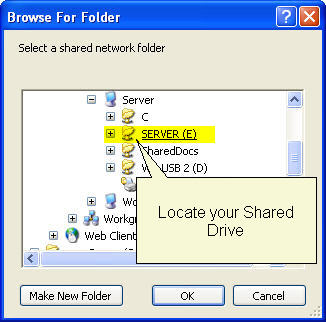
Before you start you will need to share a drive on your network.
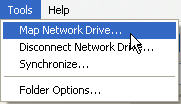
When you first install Job Timer 4 the installer will ask you to unzip the databases. Unzip the databases to your network drive. Now Job Timer will have to look for this drive using the Network Settings. Lets Map the Network Drive to your machine. First open Windows Explorer, in the menu bar click on "Tools" then "Map Network Drive"
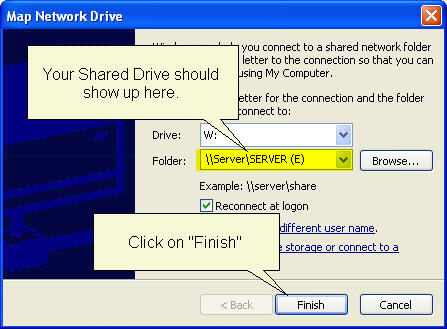
You have mapped your Network Drive now lets look for this drive in Job Timer
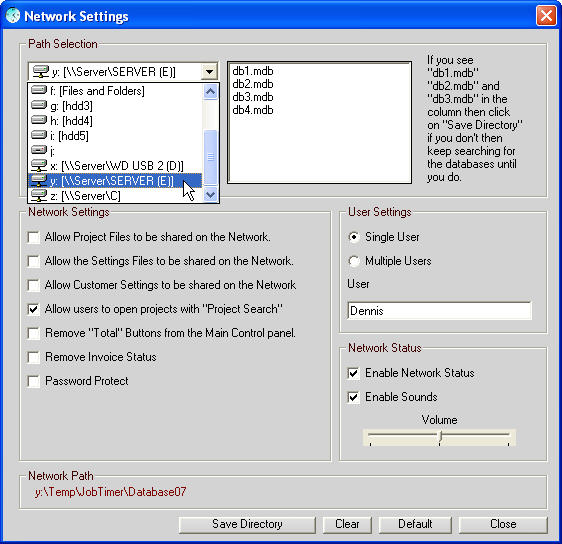
Now Job Timer can see your Network Path. Find the folder where you put your Databases. Click on "Save Directory". Now Job Timer has been networked. Click on "Close" and Job Timer will find the databases.
Any questions please email me here.
Copyright, 2003 - 2020 Doc
Design |