Features:
1. Timed Services
2. Set Services
3. Launch Application Feature
4. Two Hour Reminder Feature
5. Edit labels
6. Edit Company Information
7. Auto Save Function
8. Alarm Feature
9. Break Alarms
10. Start with Windows
11. Time Check
12. Invoicing Program
13. Application
paths
Timed Services:

This Feature will allow you to select a single timed
service.
Timed
Services are services that you would use the clock on. The clock
will add the time of each service for you.
Set Services
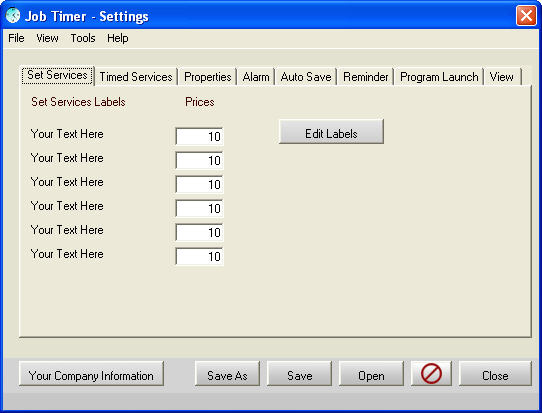
These are Services that you may perform that have a "Set"
Price, (re: Service Charge or Transportation Charge) The clock has
no effect on these items, so clicking on one of these you will be
able to adjust the amount manually.
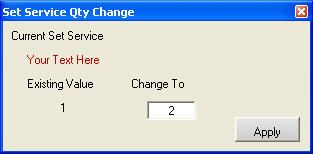
While changing a value in the Set Services you will get this little window. If the Job Timer Clock is running you will need to stop it first, this is to keep the database updating correctly.
Displayed will be the Existing Value, to change this value enter in the desired value in "Change To" then click on "Apply". Once again this is to update the database correctly.
Edit Labels:
You are able to create your own labels so you know what to call
your services. Just click on Edit Labels and then fill in the required
fields, when you leave it blank then everything pertaining to that
section on the control panel will not be displayed.
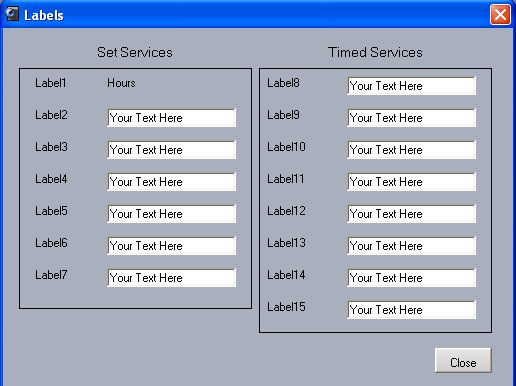
The Hours field is not editable but you can fill anything
you wish in all the other fields.
The reason for separating the labels from the prices
is that once you have set up your labels, chances are you won't
have to do this again, so the less places to edit fields while operating
a piece of software the better.
Edit Your Company Information:
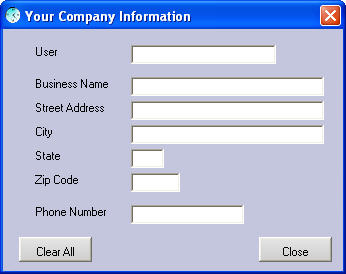
This is pretty explanatory, no need to go into detail
here other than the fact that when you fill in your company information
it is only used for the Invoice and nothing else.
Launch Application Feature:
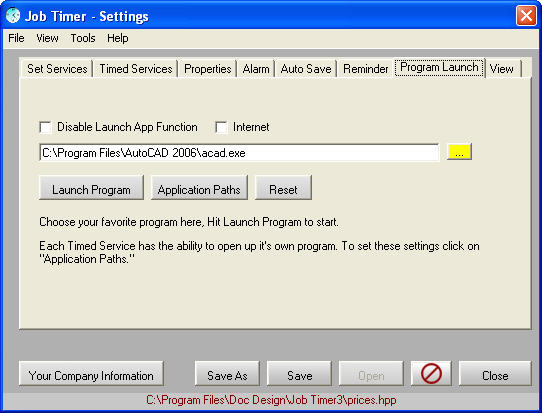
This feature will open your favorite program for you
by hitting the "Launch App" button on the Main or Small
Control panels, then it will start the clock automatically for you.
So in a sense you start Job Timer, Open the project you're working
on then hit "Launch App". Your program opens and Job Timer
starts the clock. Go to work, when done working then hit "Stop"
on Job Timers clock and you have just timed how long you have been
working.
You can find out more information on this feature here.
This is the "Primary Program"
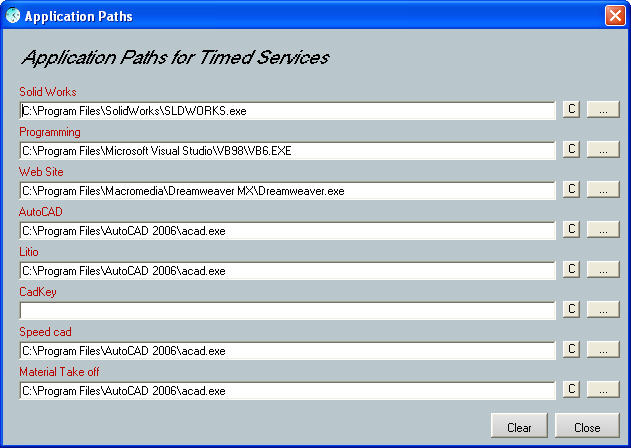
but there are 8 other timed services. You have the ability to open
8 different programs depending on which timed service you have checked.
To set these programs up then click on "Application Paths".
If you do not have anything entered in the space provided
then the Primary Program will start instead.
Hour Reminder:
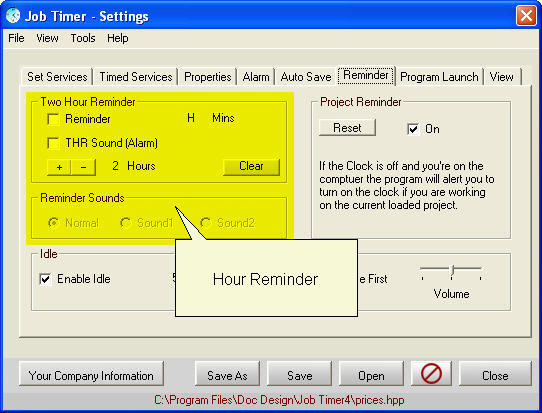
This feature reminds you that it's time to take a break or whatever
you wish to use this for. It can just pop up the Command Screen
or Play a sound when your hours are up. Click on either the reminder
or the THR Sound check boxes to enable it.
You will be able to see the H (hours) Min's (Minutes) displayed.
You can clear it when you feel like it or when the program lets
you.
Also this function starts it's timing when you start the program,
if you shut down the program you will lose your time. The program
also shuts down the Clear button and the two adjustment buttons,
clicking these will cause you to loose your stored time as well,
so the program will not allow you to make any adjustments to this
function while the clock is running. Please be sure to adjust your
reminder settings and then save them. Remember to close the Job Timer program and NOT select exit.

Reminders sounds are three different sounds that you can modify
yourself if you wish, You have the ability to change the sounds
of your program by opening up the program application folder. (C:\Program
Files\Doc Design\Job Timer2\) In there you will find 3 separate
WAV files that you can edit. Just find a WAV file that you would
like to use in the program, call it Sound.wav, Sound1.wav or Sound2.wav
then replace the exit sing files and now when your alarm goes off,
countdown timer ends, or your reminder function goes off, you will
now be able to listen to your own sounds or music. The reminder
dialogue box above allows you to switch which of the three WAV files
you would like to listen to when the reminder function goes off.
The Alarm is set for small WAV files not large music files which
by default is Sound.wav.
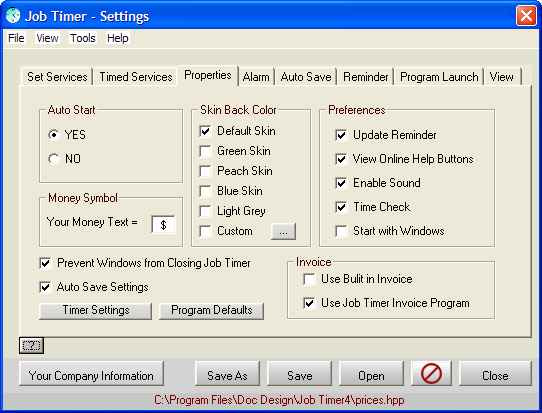
Auto Save Function:
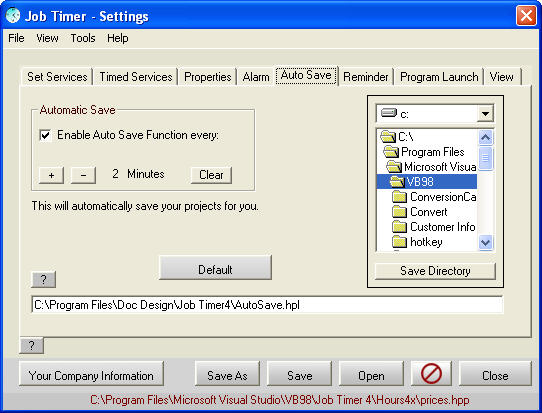
This feature will save your progress every 1 to 10
minutes. If you do not have a file to save it to it will save it
automatically to: C:\Program Files\Doc Design\Job Timer2\Autosave.hpl
You can change this in "Preferences" for more information
on this feature click here.
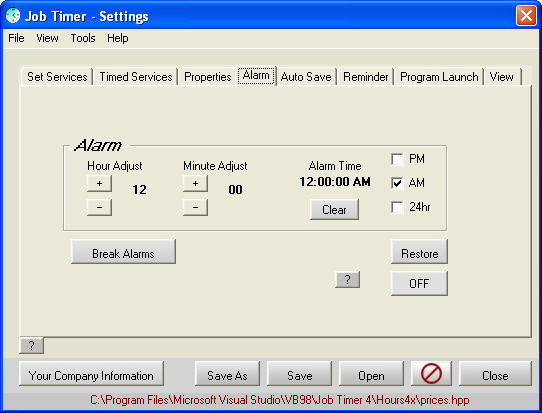
Alarm Clock Feature:
here.
I created the hours and minutes separate because alarms
are usually set at the top of each hour, this way you can set your
alarm clock faster than any other alarm clock. This time is saved
in the program's settings so you can use your alarm clock everyday
if you wish. (Only works when the program is on.)
Break Alarms:
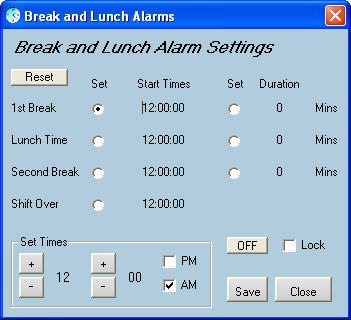
When set this will remind you when your
breaks are by alerting you with short beeps. When your break is
over it will sound again with similar short beeps.
Start with Windows:
This check box when checked will start up Job Timer
every time you start your computer.
Invoicing Program or Built
in Invoice:
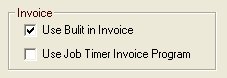
You have the choice of using the built in Invoice
that comes with Job Timer 4 or you can use a separate
program that will read Job Timer 4 Project files and print them
threw your Internet Explorer.
Once you click on "Print Invoice" Then the program will lock this project preventing anyone from adding more time. Job Timer will add an entry in the Project Data database so all of your invoices can be tracked. Once you have several invoices in the Project Database then you can view this using the Project Data Tool. This may also be called "Invoice Data" either way it is a great way of keeping track of your invoices.
If you choose "Use Job Timer Invoice Program"
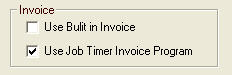
Then when you print an invoice you will open this small program that will read the project and customer information allowing you to make an invoice.
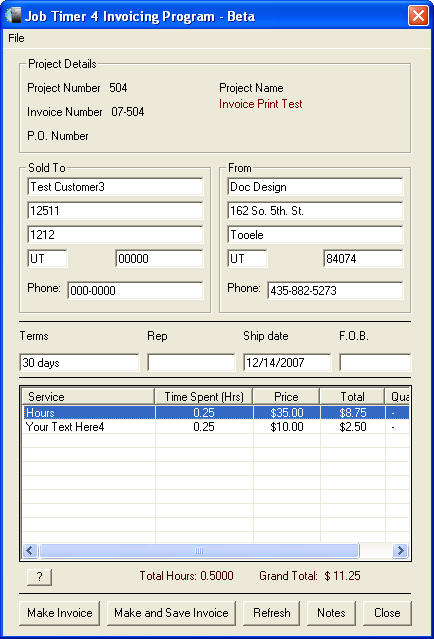
Make Invoice:
Clicking this will create an invoice in Internet Explorer, all you have to do is print this invoice and mail it to your customer. "Invoice.htm" is the file that Job Timer will use to create these invoices. You can alter this template to your liking and included in the install are template examples so you can change or alter any of these templates so you can customize your own invoice. You will need to replace the invoice.htm file that located in the Job Timer4 folder.
Make and Save Invoice:
This will make your invoice and save it as an HTML file so you can access it later if you wish. Once you click this it will ask you to save the file, this will name the file for you just hit "Save", this will also create an invoice allowing you to print.
Refresh:
This will refresh the database.
Notes:
You can add notes to the bottom of your invoice if you wish.

<<<Previous....*....Home...*...Features..*....Next>>>