Features:
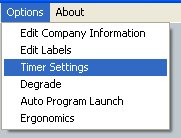
1. Set and Save Minimum Clock Settings:
2. Prepaid or Quote:
3. Billing Cycle
4. Manual Input
5. Force Reset Button
6. Smart Timer
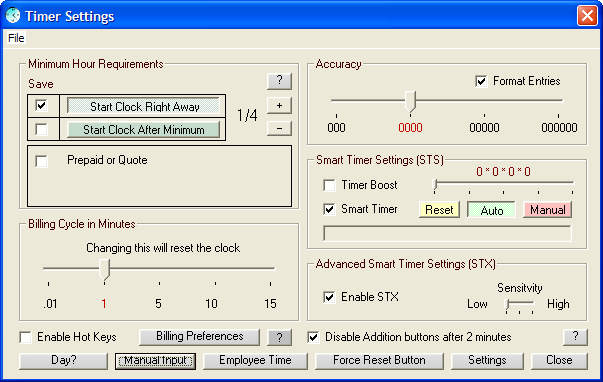
Set and Save Minimum Clock Settings:
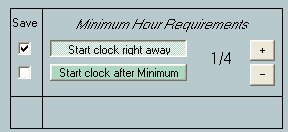
This feature sets your minimum hour requirements, When you click
on "Start Clock right away" then when starting
the clock it starts adding up your price right away. The minimum
can be set from 1/4 hour to 1 hour. Once you have clicked on the
check mark next to the selection you made then when you hit "Close"
it will direct you to the "Options" screen, there all
you have to do is hit "Save" and then it will go away.
This will set up your default settings and it will use this setting
every time you start your program. Now click on "Delay Start"
and hit "Start" This will start adding up your time after
it has reached it's delayed start time.
Setting it to "Start clock after minimum" your
minimum price will show up in the "Base" price. So the
clock will keep adding up, but your price will not, it will wait
till it has reached the setting you requested then the price will
start to increase.
Prepaid or Quote:
This will allow you to enter in a price that has already
been paid on the job, like a down payment. This will subtract that
price from the project. This also applies to a quote, since your
project is a quoted project it is for your own records to see how
well you have done on the job.
Billing
Cycle in Minutes or in Seconds:
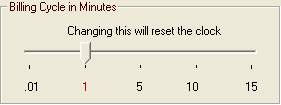
This will allow you to change your timer settings
to add to your Projects Total every 1, 5, 10 or 15 Minutes. Or you can set this to .01 for calculating every second.
Job Timer by default will charge your customer every minute that
you spent time on their project. If you would like to change this
then slide the slider over to the specified time and Job Timer will
not adjust your total until the minutes specified has been met.
Smart Timer :
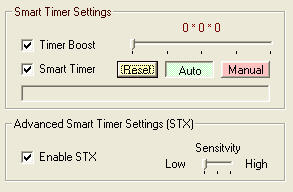
Timer Boost will increase the main timers interval faster than normal for a short time to get Time Check to sync with the computers clock faster.
Smart Timer will automatically adjust the main timers interval to keep Time Check in sync with the computers clock.
This is all automatic so the slider bar is adjustable but will automatically change it's settings for the best performance.
STX will make sure that Job Timer doesn't over run the clock.
Hot Keys:
Hot keys are a combination of keyboard keys that
will perform tasks.
Cntl + Q = Start Job Timer Clock:
Cntl + W = Stop Job Timer Clock:
Cntl + E = Show Main Control Panel (Main Window):
Cntl + R = Show Reports page (Reports Window)
Manual Input
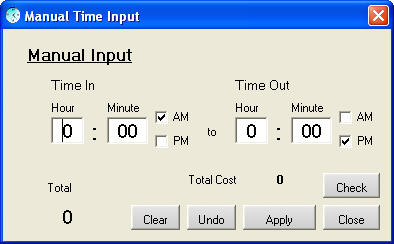
This is for those of you that can't
be on the computer every second of the day or nor do you want
your computer adding up the time for you. You can also use this
for times that you know what time you started on the job and
what time you ended, but you never even touched your computer
today. Now you can add your time manually hit apply and it will
add the times to Job Timer for you. Hit Check to complete the
entries, because even though it's trying very hard to calculate
the time for you it still needs to make adjustments. Check to
make sure that it's working correctly. (This feature is still
Beta testing there will be some adjustments to the program to
make it work better.) To access this, enter into your Administrator
Options and click on
"Manual Input ON" this will enable the ability to use
this new feature.
Force Reset Button
This will enable the Reset button on the Main Control Panel so
you are able to reset the clock if you wish.
Options Continued
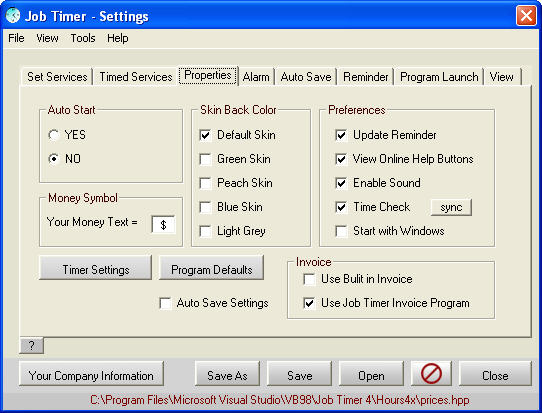
Features:
1. Select a Skin Color
2. Select the Auto Save Path
3. Enable Idle
4. Reminder
Select Skin Color:
If your bored with the current skin color you can
change it to 1 of 5 selections.
And you can change the Skin of the Large Control
Panel. I kept these separate because this way you have the chance
to mix and match skins with colors of the Control Panels.
Select Auto Save Path:
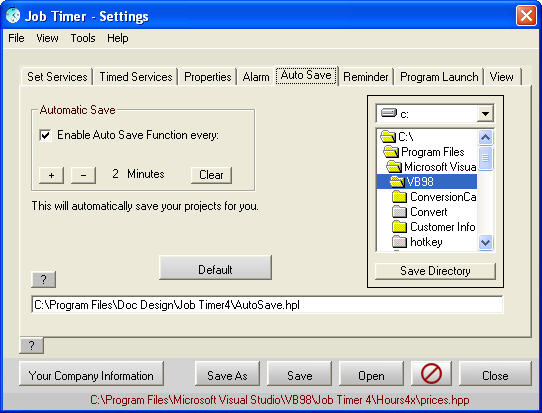
Here you can select the Auto Save Path. The default
setting is:
"C:\Program Files\Doc Design\Job Timer4\AutoSave.hpn"
When you do not have a path for your project to be
save as, then the program will notice that you don't have a save
path. When you click on "Enable Auto Save" in "Options"
then every 3 minutes your program will start saving your progress
so you don't loose any information due to either accidentally closing
the program without saving, power outage or a system crash.
When you get your program back up and running again,
just open the "AutoSave.hpn" File and your information
will be in tacked. If you have a save path already, your program
will save your progress to that file instead.
Idle and Reminders
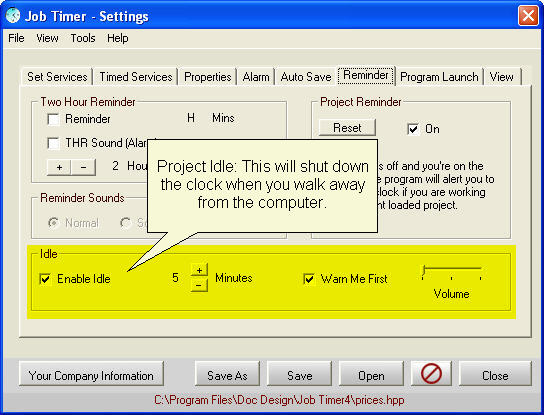
Idle is when you walk away from the computer and forget
to shut down the clock, it will stop the clock for you, then when
you move the mouse or hit a key on the keyboard the clock will start
back up again.
"Warn Me First" will warn you 30 seconds before the
clock stops automatically.
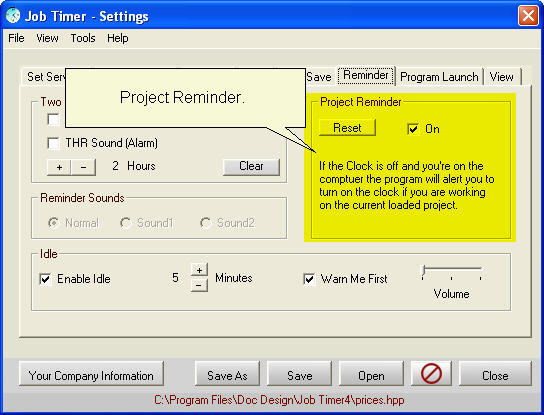
Project Reminder
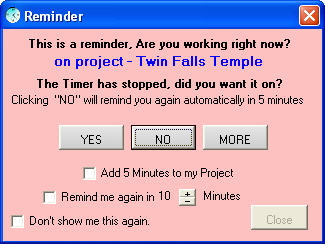
This feature will remind you to turn on the clock
if you haven't already.
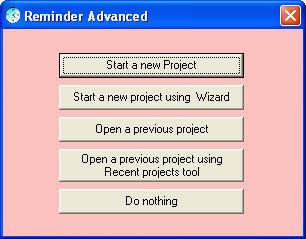
If you choose "MORE" then you have the option to open another project or create a new project.
<<<Previous...*...Home
..*....Features...*,,..Next>>>